
Hello! Amy here sharing a Congratulations card using the Layered Rose stamp set. I absolutely love these types of stamps and I thought I would share my spin on adding some detail.

While there are four layers to this rose, I only used the last three layers to create my roses omitting the solid first layer. So for reference, I have marked 1, 2, 3 on the stamps.
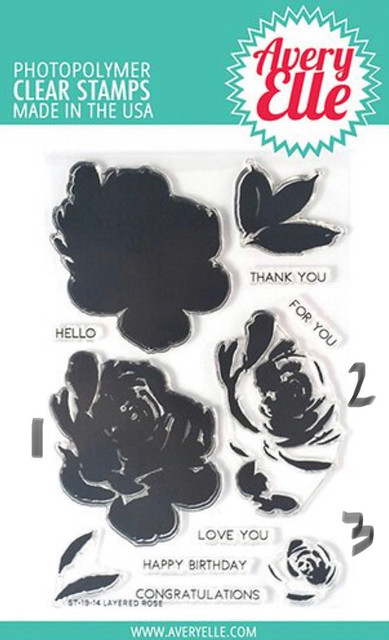
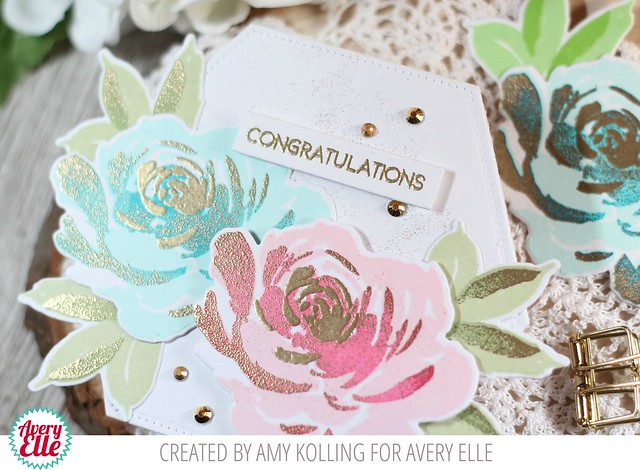
I stamped layer 1 with my lightest ink and then used the next darkest ink for layer 2. While layer 2 was still in place, I lightly added watermark ink (Versamark) to the edges, added some Rich Gold Embossing Powder, and heated with my heat tool. Layer 3 was stamped in Versamark ink and also gold heat embossed. Looking at my roses, you can see the stray gold heat embossing and this was exactly the look I was going for! I wanted the color of layer 2 to still show through but add depth with the gold embossing! I did the same technique with the leaves and layer 2.
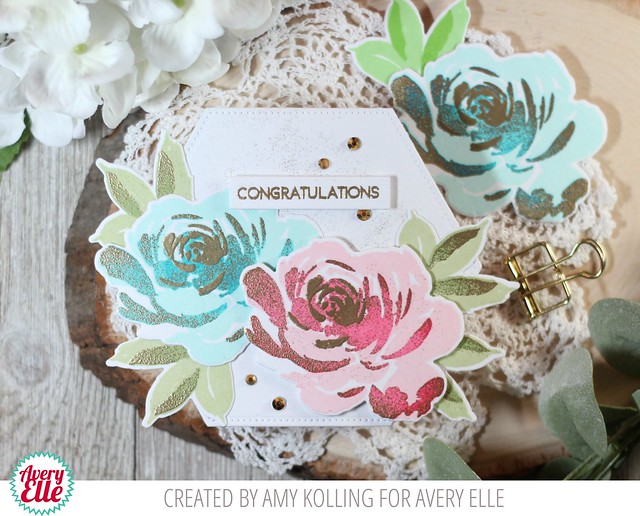
My hexagon note card was die cut using the Pierced Hexagon Elle-ments. I don't know about anyone else, but I love a shaped card! The roses were arranged so that some extended over the edge of the hexagon note card. This card will still fit in a standard A2 envelope for reference. As finishing touches, I added a gold embossed sentiment strip (done using the Simple Sentiments Elle-ments) and some gold gems.
Supplies:
Layered Rose Clear Stamps


2 comments:
So very pretty with the gold accents!!
Yup, I agree, beautiful indeed!
Post a Comment