Fall Picnic Week - Day 2

August 31, 2021


Hello friends! 

Katie here with a card and a technique to share featuring the absolutely charming Fall Picnic clear stamps.  For coloring, I typically reach for Copic markers, but Copics can also be complimented with colored pencils to enhance the stamped images. 

Below are the stamped images using just Copic markers. I chose to leave few of the detailed images uncolored so that I could add color using colored pencils.  

In this next photo, I added shading and detail with colored pencils and a white gel pen. 


Colored pencils allow you to add depth and dimension with more precision and control. If you are new to using these two color mediums together, here are a few tips: 

  • Make sure your pencils are super sharp. I purchased an inexpensive electric pencil sharpener from Amazon just for this purpose. 
  • Start with a light touch when adding deeper shades. You can always deepen the intensity of the color with additional layers. 
  • Use colored pencils to color the tiny images. A sharp pencil can easily navigate the most detailed elements. 
  • If you aren't sure where to add color with pencils, think about the corners and crevices where shadows would lie. Colored pencils can also reinforce detail lines on the stamped images like those on the tree stumps. 

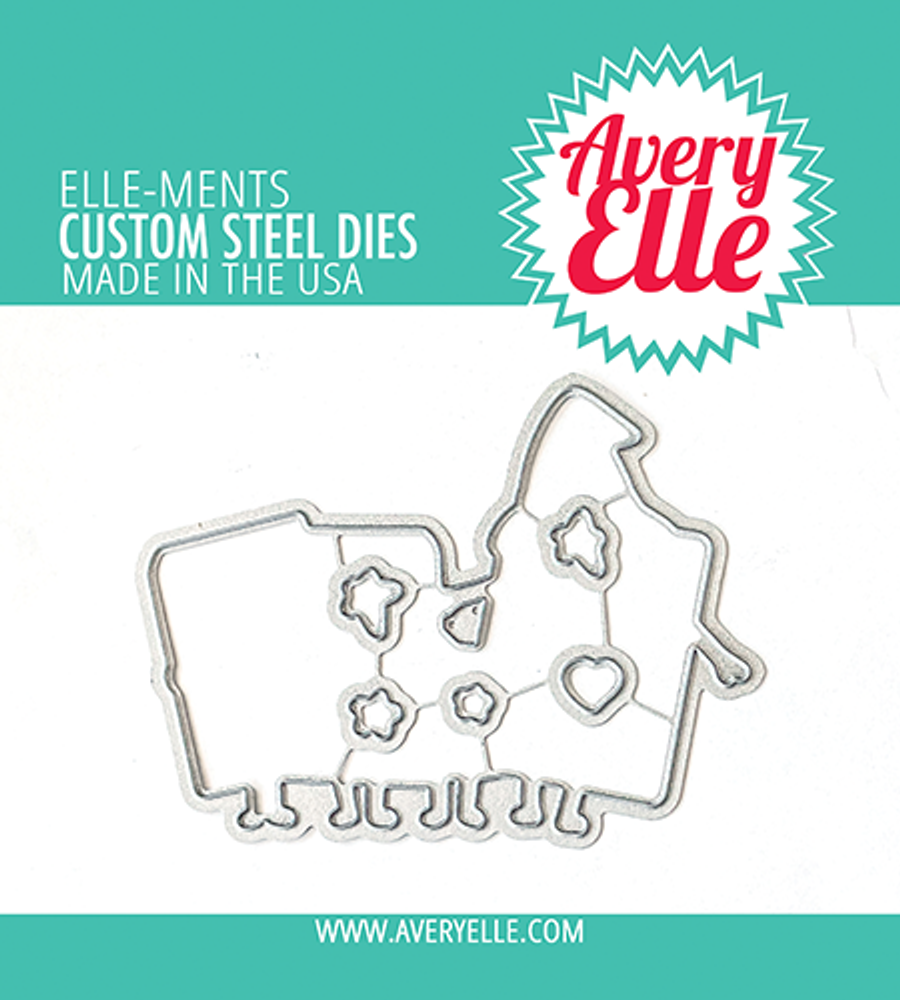
Once all the images where colored, I die cut the stamped images using the coordinating Elle-ments dies. 


For the background, I did a quick blend of Distress Oxide ink onto a panel of watercolor card stock and spattered it with water and white ink. I positioned the blended panel behind the Oval Burst Elle-ments die. 


I adhered all the stamped images to the card. Finally, I stamped the sentiment onto a strip of black card stock with Versamark ink and heat embossed it with white embossing powder. 

Supplies

Thanks for stopping by! I hope that you are inspired to try pairing Copic markers and colored pencils together on your next coloring project! 

Katie


Fall Picnic Week - Day 1

August 30, 2021


Hi all! It's Deasy here. Today I want to share my card for Avery Elle featuring Fall Picnic. This stamp set is so pretty, full of cute and details images. Also it's so beautiful to color, I'm in love with it!


Avery Elle supply that I'm using : 

Fall Picnic Clear Stamps for the images and sentiment

Fall Picnic Elle-ments to die cut the images

Easy Layers 1 Elle-ments to die cut the frame and banner for the sentiment

Slimline Borders Elle-ments to die cut the grass


I stamp, color the images using copic then die cut it. The sentiment is from silver embossing powder. To color the background, I'm using dye ink pad with blending tool on color card stock then splash watercolor with a brush. For the embellishment, I add some clear sequins and clear droplets.

Thank you so much for stopping by and happy crafting!


Hugs,


Melania Deasy

Halloween S'mores Week - Day 5

August 27, 2021


Hi there!

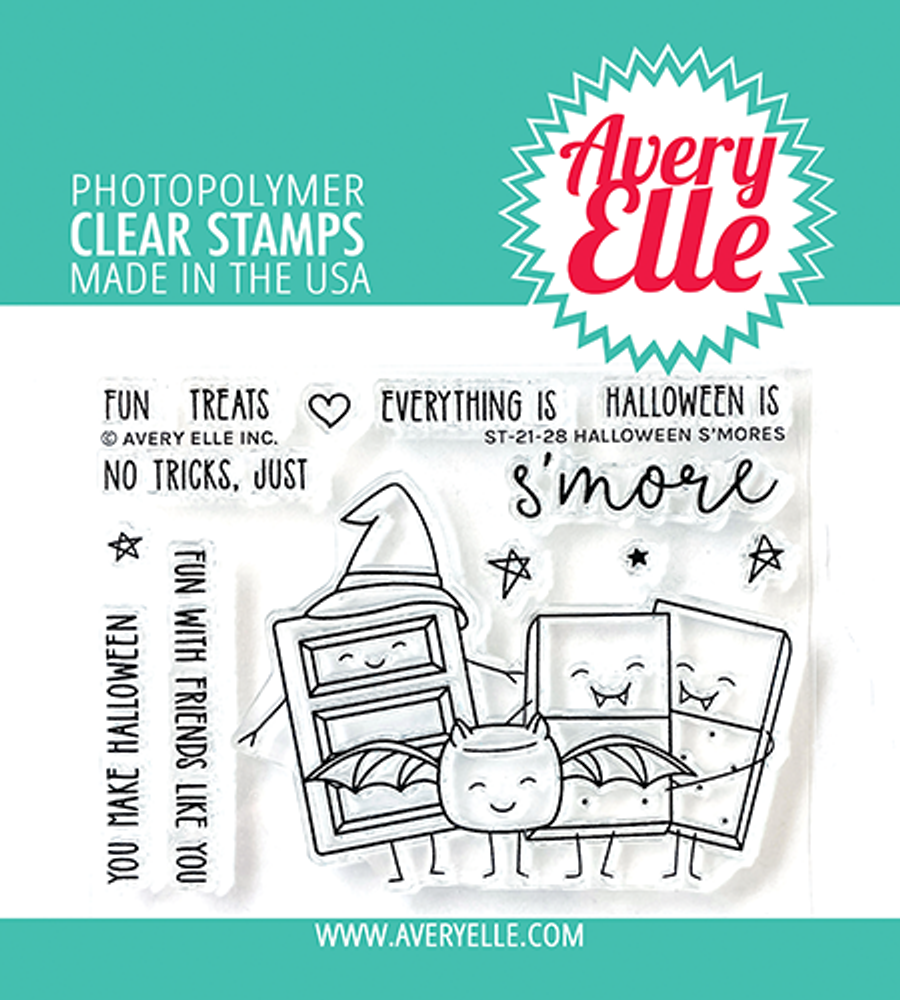
It's Yainea here with a fun Halloween card featuring Halloween S'mores stamps and dies. How cute is that little band of friends?

I started off creating the background with watercolor over purple cardstock. I colored the yummy friends with alcohol markers and then added some little elements to add some fun and shine to the card.


I really enjoy creating Halloween cards, they are always colorful and so fun! I hope you enjoyed it too and feel inspired to create!

Thank you so much for stopping by, have a nice day!

Supply list:

----------

Hey Everyone! Ashley here sharing Halloween S'mores!


These little guys are the cutest! I stamped, die cut and colored the treats. Then I created the background with lots of layers using Slimline Boarder dies and Easy Layers Tags Dies. The card was finished with a fun sentiment from the set!


Thanks for stopping by!

Supplies:

Halloween S'mores stamps

Halloween S'mores Dies

Easy Layers Tags Dies

Slimline Borders Dies

Halloween S'mores Week - Day 4

August 26, 2021


Hello-
I am popping in today to share this cute card that I created using our new Halloween S'mores stamp and die set. I just adore these little guys!


Thanks for stopping by to take a peek. Have a great day!

Halloween S'mores Week - Day 3

August 25, 2021


Hello!  

Amy here with my first Halloween card of the year!  Halloween S'Mores features this adorable image with several interchangeable sentiments!


I created my background by ink blending 4 different shades of purple Distress Inks.  Using the Slimline Borders Elle-ments, the zig zag was done on either edge of the ink blended panel.  For a background for the S'Mores, the Star Scene Elle-ments was die cut from black cardstock and silver, glitter stars were paper pieced into the starry sky.  The S'Mores were Copic colored and layered twice for just a bit of dimension.  To finish, slim sentiment strips were stamped and added with foam adhesive.  This whole panel was added to black strips down either side leaving a thin white line of cardstock at the edges.  

Supplies:


Halloween S'mores Week - Day 2

August 24, 2021


Hi there! 

Elena here with a fun card featuring the new Halloween S'mores stamp set:


I wanted to up the drama with the focal image, so I grabbed the Oval Burst die to frame them out. I created a night sky behind them, and did some ink blending on the burst layer as well to create this monochromatic backdrop for the s'mores buddies. A little tip for ink blending: don't start with a sheet of white cardstock if your goal is something dark and moody! I cut the burst frame out of a dark blue paper, and then used a dark blue and a black ink to add most of the darkness right at the opening of the frame.


I finished off the card with a sentiment from the set. I hope you like it! Thanks for stopping by!

Supply List:


Halloween S'mores Week - Day 1

August 23, 2021


Caryn here today sharing a card featuring the new Halloween S'mores stamp set -  the cutest collection of Halloween treats you ever did see!! In the UK s'mores aren't really a thing (we don't have Graham crackers here) but we do make our own versions using good old McVities chocolate digestives!!  Not sure how they compare to the originals but they do taste good!

Anyway, back to the card!  I started with a white A2 landscape card and blended some lime green ink to give a bit of background colour.  


I used the Double Pierced Rectangle dies and cut a mat and then a smaller frame using two of the smaller rectangles.  I then blended orange and purple inks onto the frame to keep with the Halloween vibe! I adhered the frame onto the mat and popped them onto the card front using foam tape.


I coloured the cute s'more characters using Copics and then stamped and die cut them and popped them onto the card using foam tape.
For the sentiment I used the banner from Easy Layers 1 die set and stamped the Halloween is S'more onto it in black and orange then completed the card by stamping "fun with friends like you" underneath - finishing off with a couple of stars.


Supplies:

Halloween S'mores Clear Stamps

Halloween S'mores Elle-ments

Double Pierced Rectangle Elle-ments

Easy Layers 1 Elle-ments

Nutcrackers and Christmas Dreams Week - Day 5

August 20, 2021


Hi Everyone! Ashley here sharing a few cards for a Christmas. Anyone love the Nutcracker as much as I do? Hopefully these cards bring you joy and inspire you to create!


On the first card I stamped one nutcracker from Nutcrackers and the mouse from Christmas Dreams. I colored and die cut them. Next, I die cut the Star Scene, inked the front and mounted yellow card stock on the back. 


Finally, I splattered the card base with Distress Oxide, assembled and adhered all of the pieces, then stamped the sentiment. 

Next up I made a super modern card with the same Nutcrackers stamp set. This time I used all three nutcrackers and heat embossed them with white embossing powder. I stamped the sentiment on the side and added a few sequins. This would be a super easy card to mass produce.


Thanks for stopping by! I can't wait to see what YOU create!


Christmas Dreams and Nutcrackers Week - Day 4

August 19, 2021


Hello! I am popping today to share a cute card and tag using our new Nutcrackers and Christmas Dreams sets.  These are so cute and I just adore them!


Thanks for stopping by to take a peek. Have a great day!

Nutcrackers with Deasy


Hi all! It's Deasy here. Today I want to share my card for Avery Elle featuring Nutcrackers. This stamp set is so cute, unique and fun! I have so much fun play with it.


Avery Elle supply that I'm using :
Easy Layers Tag Elle-ments to die cut the banner for the sentiment
Nutcrackers Clear Stamps for the images and sentiment
Nutcrackers Elle-ments to die cut the images
The Holiday Collection Paper Pad for the patterned paper

Easy Layers 1 Elle-ments to die cut the rectangle


I stamp, color the images using copic then die cut it. The sentiment is from white embossing powder.


Thank you so much for stopping by and happy crafting!


Hugs,


Melania Deasy

Christmas Dreams & Nutcrackers Week - Day 2


Hello friends, 

Katie here with a card to share with you featuring the Christmas Dream and Nutcrackers stamp set. 


I couldn't resist pairing these two sets to stage an epic battle between the brave Nutcracker and mischievous Mouse King. I stamped the images and colored them with Copic markers. Next I die cut the images using the coordination Elle-ments dies. 


For the background, I die cut a piece of patterned paper from The Holiday Collection with the Easy Layers 1 Elle-ments die. The snowdrift was created using the Slimline Borders Elle-ments die. With all the pieces and parts adhered into place, I stamped the sentiment onto the white card stock with black Versafine ink. 

Supplies: 
Nutcracker Clear Stamps
Die: Nutcracker Elle-ments
Christmas Dreams Clear Stamps
Die: Christmas Dreams Elle-ments
Die: Easy Layers 1 Elle-ments
Die: Slimline Border Elle-ments
The Holiday Collection Paper Pad

Thanks for stopping by! 

Katie

Christmas Dreams week - day 1

August 16, 2021


Hey there, it's Caryn here today with a holiday card made of a number of the new sets from the Fall 2021 release.

I stamped, coloured and die cut the mouse from Christmas Dreams then created my bas card.

I wanted to have him perched on top of the Merry die so stamped some foliage using the layered pine stamps and dies.  I cut 3 of the Merry die from white cardstock and once from red and layered up the four layers.  I used some of the small images from Merry Circle Dies to create a band across the card behind the mouse and used the "be" part from the sentiment in the Layered Stars stamp set.


Supplies:

Christmas Dreams Clear Stamps

Christmas Dreams Elle-ments

Merry Elle-ments

Merry Circle Tags Clear Stamps

Layered Pine Clear Stamps

Layered Pine Elle-ments

Layered Stars Clear Stamps

Fall 2021 Designer Inspiration Blog Hop

August 12, 2021


I am so excited because our Fall 2021 Release is finally here!!  We have an amazing blog hop full of inspiration today and we are so glad that you are here. Thank you so much for all of your comments and likes during our previews this week.  We read each and every comment and it really makes our day!!

For a summary of all of our new products that are available for purchase right now check out this section in our store .  We will be showcasing projects using our new sets starting today and will continue to show them throughout the next few months.  I can't wait!


I also have a video showing the entire release if you want to check that out!


Let's get to the hop.  I have a ton of projects to share with you today!


Supplies:

Avery Elle  - you are here
Caryn Davies
Heather Campbell
Yainea
Melania Deasy
Katie Gehring 
Amy Kolling 
Ashley Marcu
Elena Roussakis


Thanks for stopping by to take a peek. Be sure to check out all the inspiration that our design team has to share! Have a great day!

 
site design by designer blogs