Pages
February 29, 2024
Work Of Art Week - Day 4
February 28, 2024
Work Of Art Week - Day 3
Hi there!
Elena here with a card featuring the Work Of Art stamp set:
I started out by stamping the easel image, and into the paint splotch, I stamped the bouquet from Thank You Flowers. I carefully wiped off the ink from everything but the flowers and made sure to mask off the area outside of the splotch.
If there is a work of art, somewhere there is a painter! I grabbed the fox from Best of The Bunch, removed the ink from the bouquet, and placed a paintbrush in his paw instead. The paintbrush hides any little stamping imperfections, as a bonus.
I framed out the scene with the Scalloped Burst die, and added the sentiment to ground the images.
I hope you like it! Thanks for stopping by.
February 27, 2024
Work Of Art Week - Day 2
Hi all! It's Deasy here. Today I want to share my card for Avery Elle featuring Work of Art. This stamp set is so unique, artsy and versatile! I have so much fun play with it!
Avery Elle supply that I'm using :
Work of Art Clear Stamps for the images and sentiment
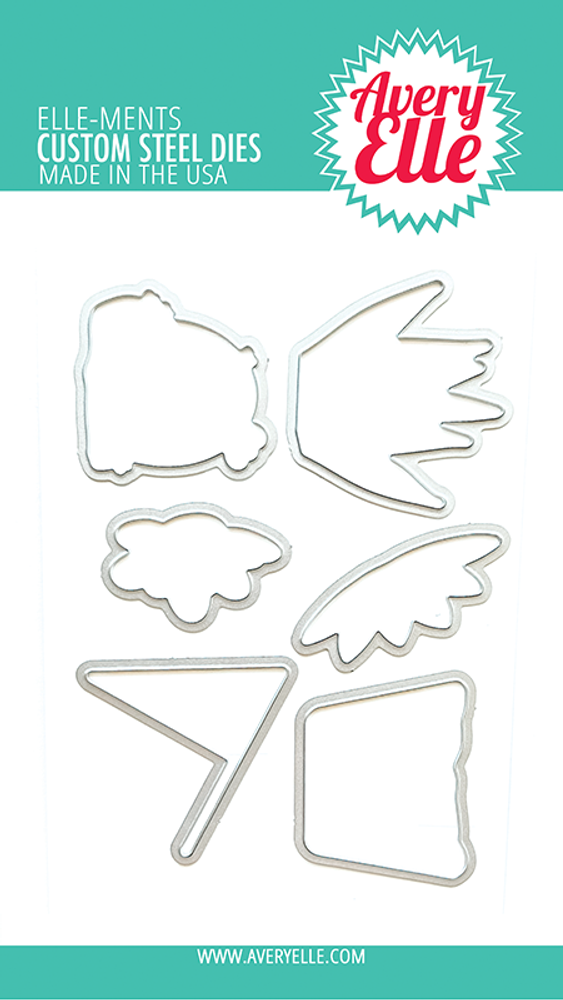
Work of Art Elle-ments to die cut the images
I stamp, color the images using copic and watercolor then die cut it. The sentiment is from white embossing powder. To color the background, I splash watercolor with a brush.
Thank you so much for stopping by and happy crafting!
Hugs,
Melania Deasy
February 26, 2024
Work Of Art Week - Day 1
Succa For You Week - Day 5
I stamped, die cut and colored the pot and cactus, then added the face. I love how the face brings the cactus to life! Next, I stamped and die cut the flag. To create the pattern in the flag, I masked off the edges then stamped the heart (from Modern Tag) in the flag and blended a light layer of Distress Oxide. Finally, I stamped a large sentiment from Modern Tag.
I can't wait to see what you create!
Supplies:
February 22, 2024
Succa For You Week - Day 4

February 21, 2024
Succa For You - Day 3
Hello!
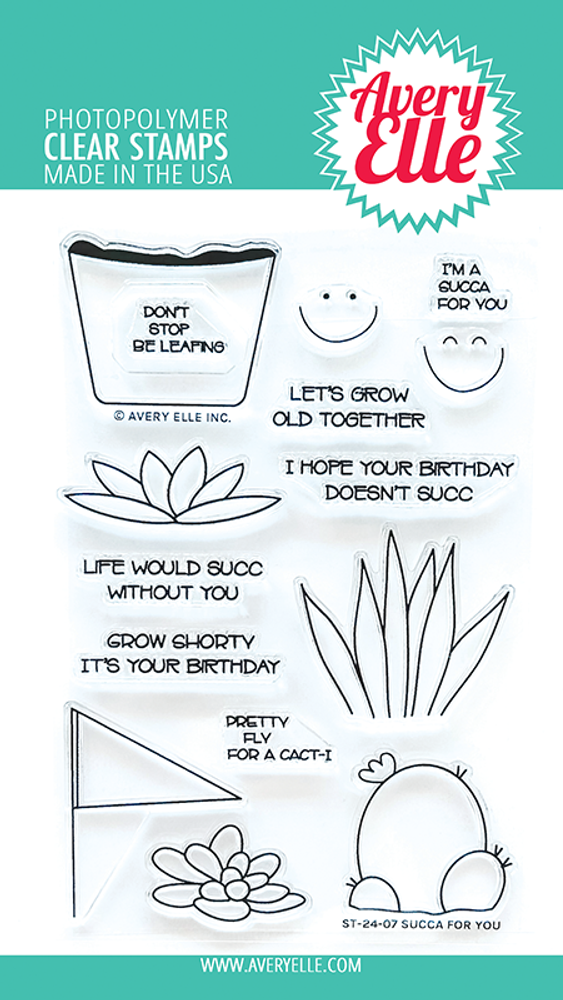
It's Yainea here today with a soft and simple card featuring Succa For You stamps and coordinating dies.
To create this kind of card you don't need to have "coloring skills" Just have some fun with your stamps and inks :)
The watercolor background balances and softens a bit the color block effect of the image and it's very easy to do. Create an oval-like shape with your watercolors, let it dry and sprinkle some more water color on top.
I hope my project inspires you to have some relaxing crafty time! Thank you so much for stopping by, have a nice day!
Supply list:
February 20, 2024
Succa For You - Day 2
Hi there!
Elena here with a fun card featuring Succa For You:
I stamped the pot 3 times, and colored them with copic markers. My pots at home have fun patterns, so I had fun adding detail to some of these pots too!
I "planted" a succulant into each pot, and split the sentiment into 2 so that I could stamp them into 2 flags.
To finish off, I added a strip of woodgrain paper to ground the pots, and framed the scene with a Scalloped Burst die.
Thanks for popping by, I hope you like it!
Succa For You - Day 1
Hi it's Caryn here today with a card using the stinkin' cute Succa For You stamps and dies. This is such a fab set, don't you just love that wee face?!
February 16, 2024
Groovy Vibes Week - Day 5
Hi Everyone! Today I'm sharing Groovy Vibes stamps and dies. Let's take a look...
There are so many fun images in this set! I created my own background using the rainbow and heart stamp. Next, I die cut Pieced Rounded Frames.
Tip: I ran this die through my die cut machine twice. Once regularly, then again to shorten it to a square!
Then, I die cut the word Groovy and stamped and die cut the flower images from the set three times.
Easy and so cute!
Supplies:
February 15, 2024
Groovy Vibes Week - Day 4

February 14, 2024
Groovy Vibes Week - Day 3

February 13, 2024
Groovy Vibes Week - Day 2
Amy here with a card with all the vibes featuring a new set called Groovy Vibes.
February 12, 2024
Groovy Vibes Week - Day 1

February 9, 2024
Modern Tags Week - Day 5

February 8, 2024
Modern Tags Week - Day 4

February 7, 2024
Modern Tags Week - Day 3
Hey there! It's Heather here.
Today I've got a project with the new Modern Tags stamp set.
February 6, 2024
Modern Tags Week - Day 2
February 5, 2024
Modern Tags Week - Day 1
Hey y'all! I'm sharing a card I created using the Modern Tags dies and the gorgeous Scalloped Stripes stencil. You may notice a fairly liberal coating of glitter too - well there's a wee story behind that!
February 1, 2024
Avery Elle Spring 2024 Release & Instagram Hop
For a summary of all of our new products that are available for purchase right now check out this section in our store . We will be showcasing projects using our new sets starting today and will continue to show them throughout the next few months.
Supplies:
Avery Elle - @averyellestamps
Caryn Davies - @glittermesilly
Heather Campbell - @heathercampbellcrafts
Yainea - @yainea
Melania Deasy - @melaniadeasy
Amy Kolling - @amykolling
Ashley Marcu - @ashleymarcucreates
Elena Roussakis - @elenaroussakis


.jpg)


.jpg)


.png)


